This is the early access documentation preview for Custom Views. This documentation might not be in sync with our official documentation.
Configure commercetools Checkout
Create payment connectors and applications to configure commercetools Checkout.
Payment connector
A payment connector manages the communication between the seller, commercetools Checkout, and the payment gateway processing the payment.
A payment method, on the other hand, is a type of payment that a buyer can use to make a transaction, such as credit card, debit card, PayPal, or bank transfer.
With commercetools Checkout, the following configurations are possible:
- Set up multiple payment connectors with the same Payment Service Provider (PSP).
- Set up multiple payment methods with different payment connectors in the same application. For example, in the same application, you can set up:
- Payment Method A with Payment Connector X
- Payment Method B with Payment Connector Y
- Set up one payment method with one specific payment connector in the same application. For example, you can set up:
- Payment Method A only with Payment Connector X in the same application.
- Payment Method A with a different payment connector in a different application.
For test purposes and proofs of concepts, you can configure a mock payment connector.
Supported Payment Service Providers
| Payment Service Provider | Available payment methods | Configuration information |
|---|---|---|
| Adyen | Credit card, PayPal, Sofort, iDEAL | Configuring Adyen |
| Access Worldpay | Credit card | Configuring Access Worldpay |
| Worldpay WPG | PayPal, Sofort, iDEAL | Configuring Worldpay WPG |
| PayPal | PayPal | Configuring PayPal |
To manage payments by invoice, configure an invoice payment connector.
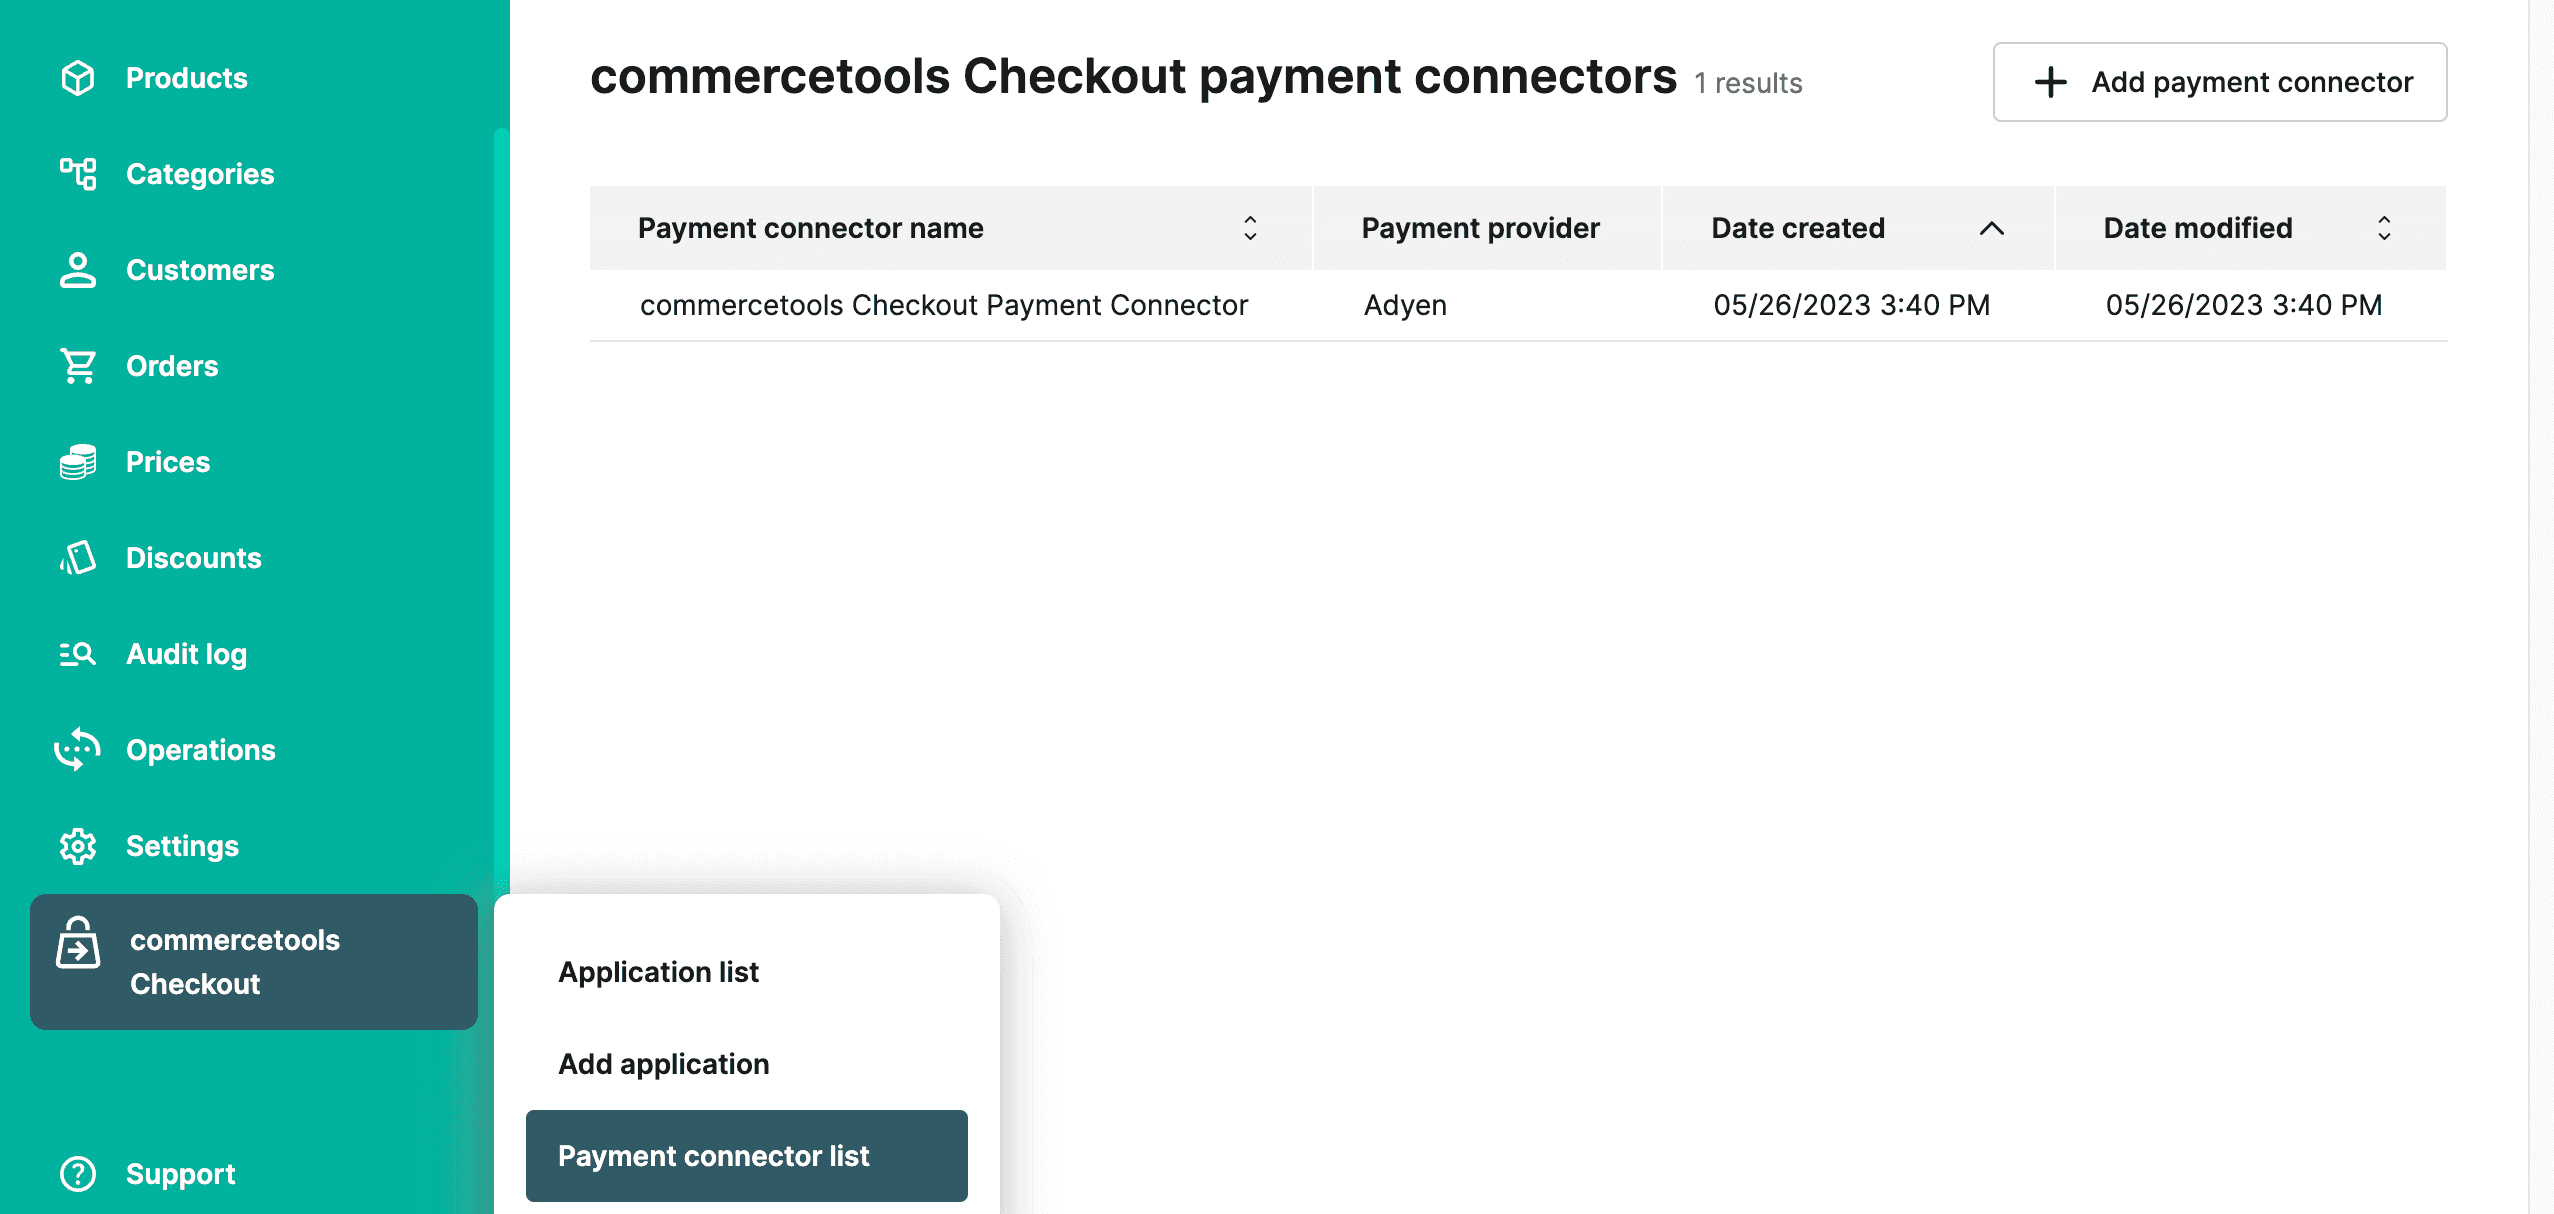
Payment connector list
The Payment connectors list displays all payment connectors created for a Project.
- To delete a payment connector, select the payment connector and click the delete icon on its details page.
- To edit details of a payment connector, select the payment connector and edit the information on its details page.
Applications
An application lets you set a specific configuration for commercetools Checkout, such as country-specific or brand-specific checkout flows. Based on your business needs, you can also create multiple applications. For example, if you want different settings for different countries, you can create multiple applications to set up different user agreements, payment methods, etc. for each country.
Create an application
Before you create an application, we suggest configuring a payment connector, as it is required to set the payment methods for the application.
In the Merchant Center navigation menu, select commercetools Checkout > Add application.
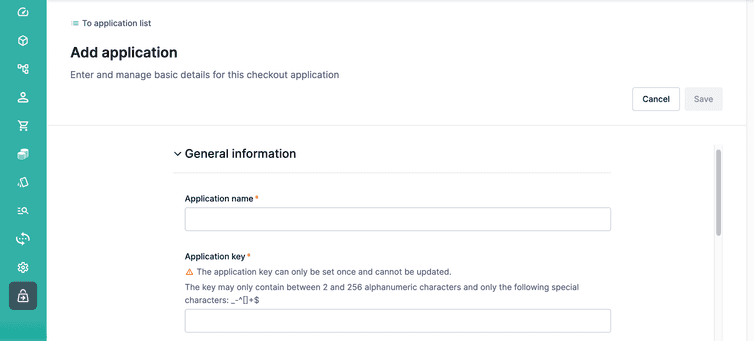
In the Add application page, follow these steps:
In the General information section, do the following:
- For Application name, enter a plain-text name for the application.
- For Application key, enter a unique identifier that contains 2-256 alphanumeric characters and special characters
_-^[]+$. - Optional: For Application description, enter a plain-text description for the application.
In the Application settings section, to set up generic settings and configuration for the application, do the following:
- For Logo URL, enter a valid URL of the logo that will be visible on your checkout page.
- For Select countries, select the countries where the application will be available.
- For Origin URLs, enter valid URLs of websites that will be connected to the application. Only the provided URLs can initialize commercetools Checkout.
- To display the field for entering discount codes on your checkout page, keep the Activation of discount code function toggle in the activated position. Otherwise, deactivate it.
Click Save. On saving, you can choose one of the following in the Next steps: User agreements and Payment method dialog:
- To create user agreements and payment methods, click Go to user agreements. You will be redirected to the User agreement tab.
- To skip, click Do later. To create user agreements and payment methods later, follow the below steps.
To add a user agreement, click the User agreement tab and follow these steps:
Click Add agreement and do the following:
- For User agreement name, enter a plain-text name for the user agreement.
- For User agreement text, enter the text for the user agreement that can include corresponding links (such as, terms and conditions).
To link text, select the text and click Add link > Save. - For User agreement method, choose whether you need a mandatory checkbox for the user agreement.
Click Save. The order of user agreements in the list will be the same displayed on your checkout page. To change the order, click Reorder, drag the agreements, and click Save.
By default, user agreements are deactivated on creation. To activate the application, activate at least one user agreement by clicking the Status toggle.
To add a payment method, click the Payment method tab and follow these steps:
Click Add payment method and do the following.
- For Payment method, select the payment method for the application.
- For Payment connector, select the payment connector that you’d like to configure the selected payment method with.
- For Payment method name, enter a name for the payment method. It will only be displayed in the Merchant Center.
Click Save. The first payment method on the list will be the default payment method on your checkout page. To change the order, click Reorder, drag the payment methods, and click Save.
By default, payment methods are deactivated on creation. To activate the application, activate at least one payment method by clicking the Status toggle.
To activate the application, click the Status toggle.

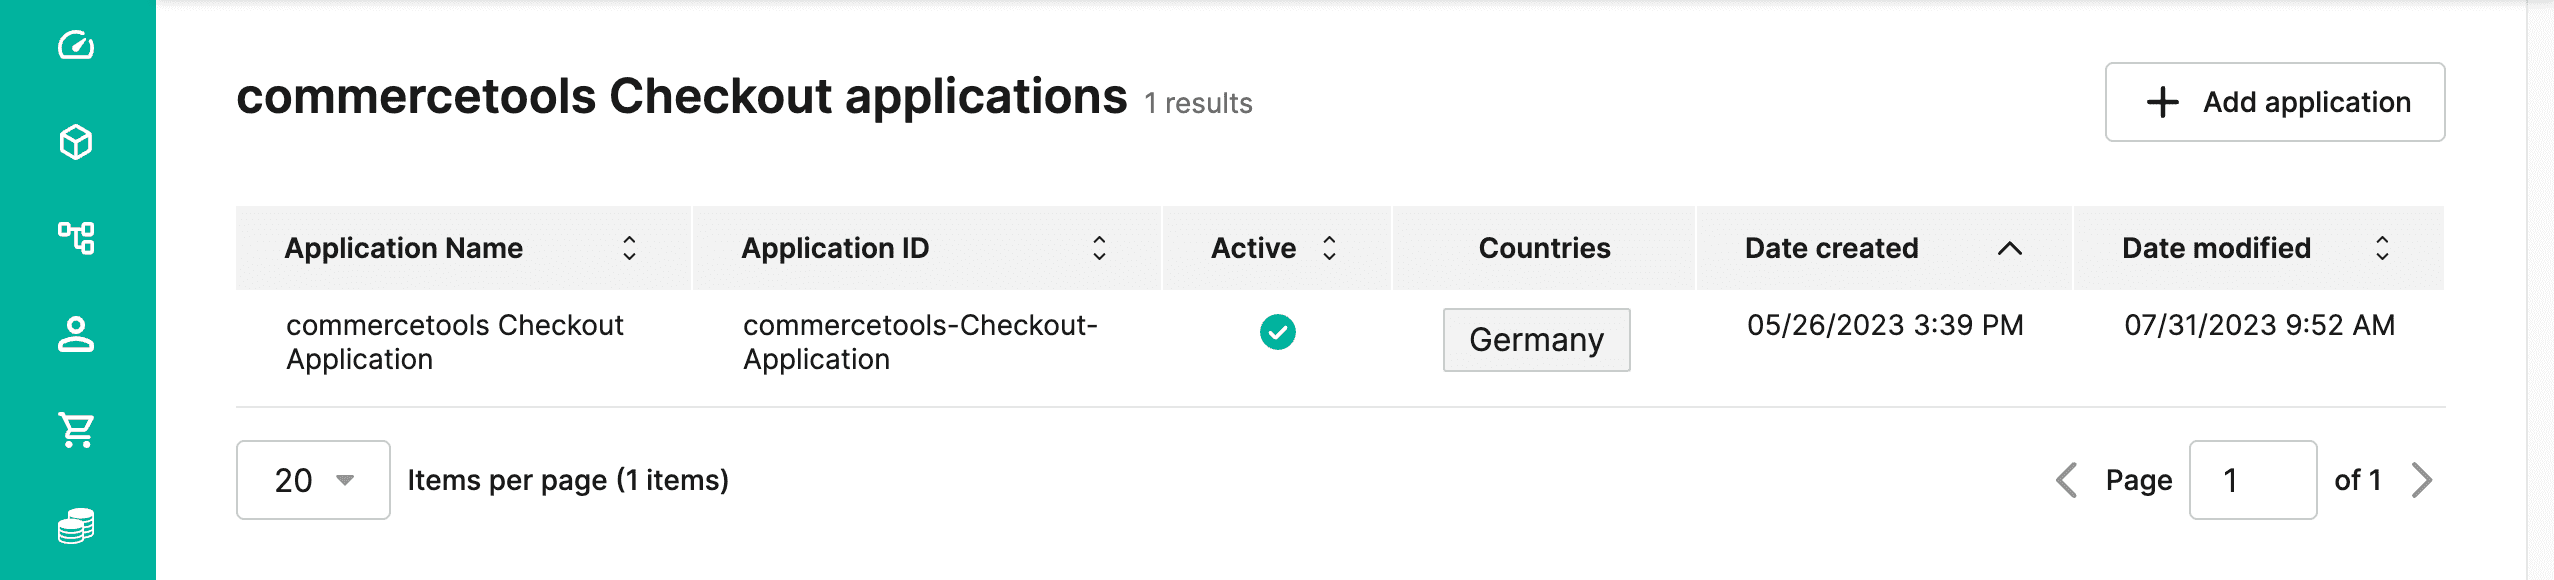
Application list
The Application list displays all application created for a Project.
- To delete an application, select the application and click the delete icon on its details page.
- To edit details of an application, select the application and edit the information on its details page.