This is the early access documentation preview for Custom Views. This documentation might not be in sync with our official documentation.
Adyen payment connector
Learn how to add an Adyen payment connector to your Project.
Add an Adyen payment connector
Before you add an Adyen payment connector, do the following:
- Generate an Adyen API key.
- Add payment methods from your Adyen Customer Area.
- Get your Adyen client key.
- Create a Composable Commerce API Client with the Orders, Payments, and Types scopes selected.
These permissions are required to establish a communication between Composable Commerce and commercetools Checkout.
To add an Adyen payment connector, you must:
Configure an Adyen payment connector
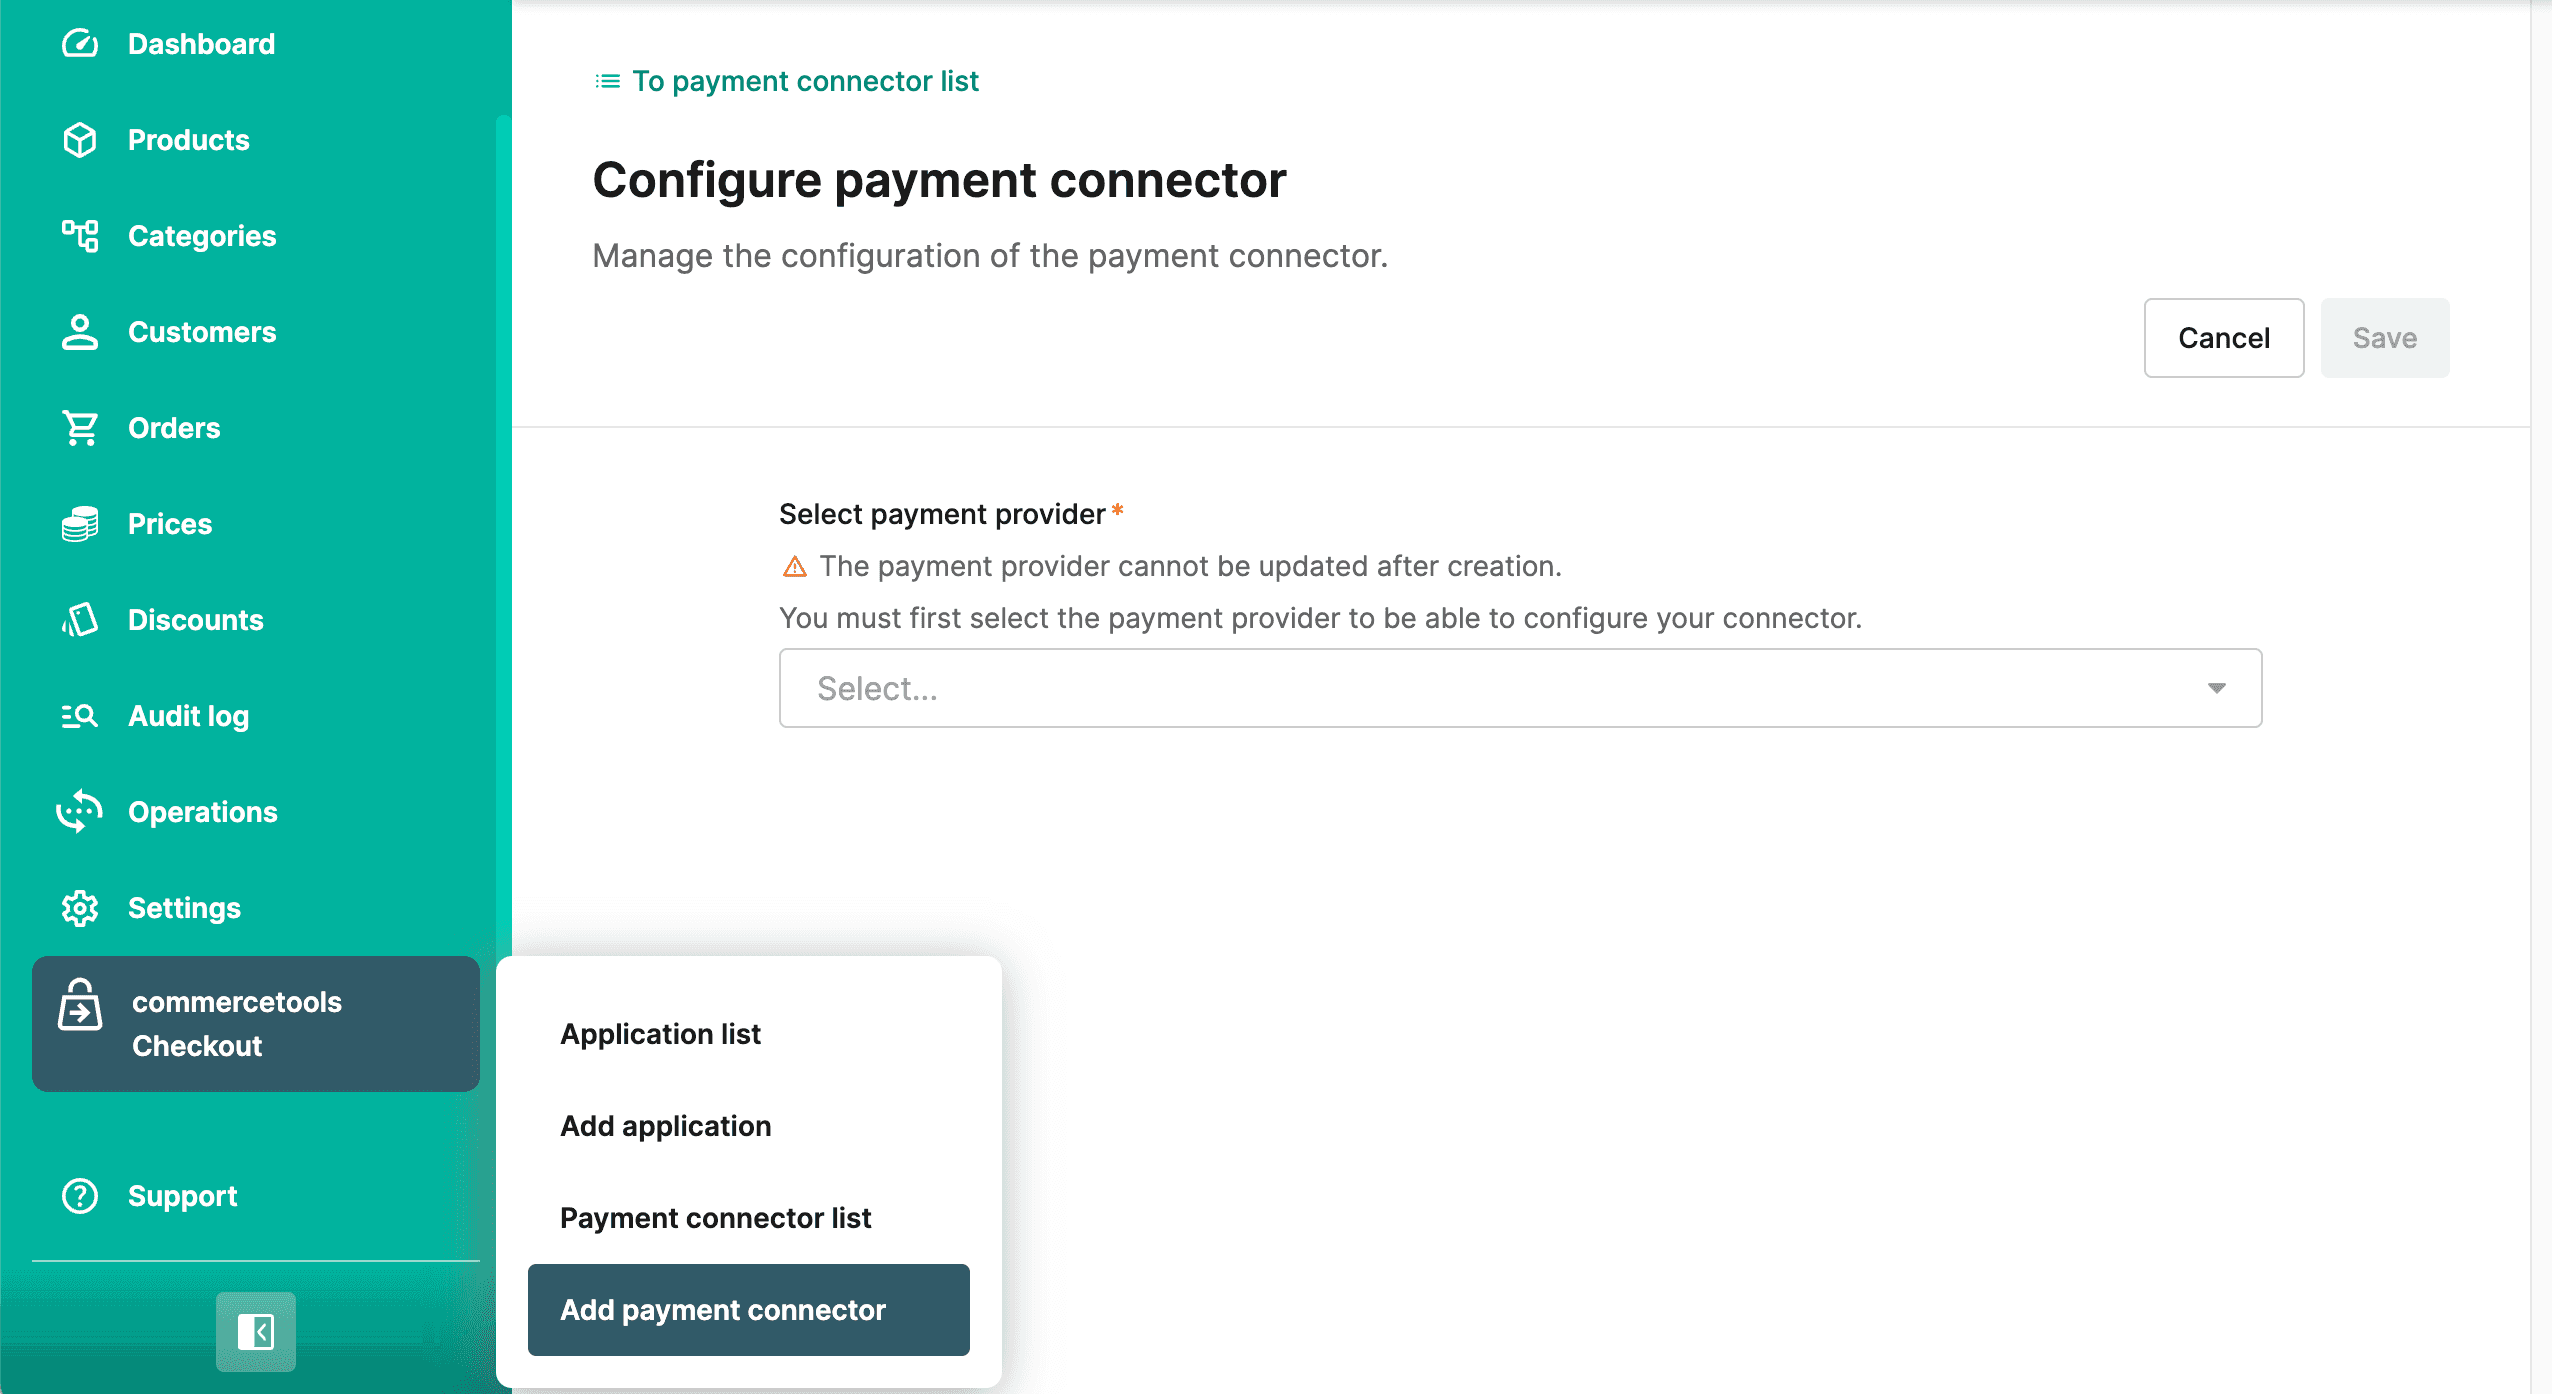
In the Merchant Center navigation menu, select commercetools Checkout > Add payment connector.
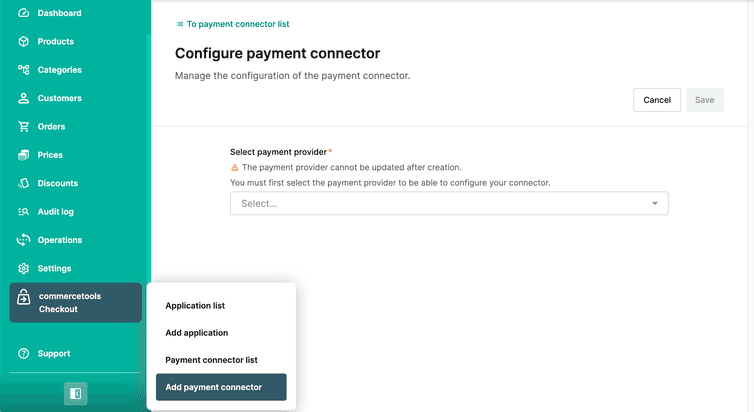
On the Configure payment connector page, do the following:
From Select payment provider, select Adyen.
In the General information section, for Payment connector name, enter a plain-text name for the payment connector.
In the Configuration section, do the following:
- For Client key, enter your Adyen client key generated earlier.
- For Environment, select the environment where you will use the payment connector.
- For Adyen merchant account, enter the Adyen merchant account that will be used to process the payment.
In the Payment method section, click the toggles to activate the payment methods that you added to your Adyen account.
In the API client credentials section, do the following:
- For Client ID, enter the client ID you generated while creating the Composable Commerce API Client.
- For Client secret, enter the client secret you generated while creating the Composable Commerce API Client.
Click Save. On saving, a payment connector ID is generated and it will be available in the General Information section.
Set up an Adyen webhook
Adyen uses the webhook to call back the commercetools Checkout application and provide notifications about the status of the payment process.
To set up a webhook, follow the steps in Adyen documentation and enter the following configuration values:
- URL:
https://adyen.checkout.{region}.commercetools.com/{PaymentConnectorID}/notifications. Replace{region}with the Region where your commercetools Checkout project is deployed (for example,europe-west1.gcp) and{PaymentConnectorID}with the payment connector ID you generated earlier. - Method:
JSON - Encryption protocol:
TLSv1.3
As you configure the security options for the webhook, you will generate an HMAC key. Safely store this key in your system, as it is required for finalizing the setup of the Adyen payment connector.
Finalize the configuration of the Adyen payment connector
In the Merchant Center navigation menu, select commercetools Checkout > Payment connector list.
Select the payment connector you created earlier.
In the PSP connector secret section, do the following:
- For API key, enter the Adyen API key you generated earlier.
- For HMAC key, enter the Adyen HMAC key you generated while setting up the webhook.
- Optional: For Adyen live URL prefix, enter a live endpoint URL containing a prefix that is unique to your company account.
Click Save.
After adding the Adyen payment connector, add the activated payment methods for this payment connector to your application.