This is the early access documentation preview for Custom Views. This documentation might not be in sync with our official documentation.
Get started with the .NET SDK
Learn how to set up and use the .NET SDK.
This step-by-step guide leads you through setting up and making API calls using the .NET SDK.
Requirements
To follow this guide you should have the following:
- A commercetools Composable Commerce Project
- An API Client
- .NET Standard 2.1 (or later)
For more information on setting up a commercetools Composable Commerce Project or API Client, follow our Getting started with commercetools Composable Commerce guides.
Objectives of the get started guide
By the end of this guide you will have:
Placeholder values
Example code in this guide uses placeholders that should be replaced with the following values.
If you do not have an API Client, follow our Get your API Client guide.
| Placeholder | Replace with | From |
|---|---|---|
{projectKey} | project_key | your API Client |
{clientID} | client_id | your API Client |
{clientSecret} | secret | your API Client |
{scope} | scope | your API Client |
{region} | your Region | Hosts |
Install the .NET SDK
PackageReference
Add the following to your .csproj file.
<ItemGroup><PackageReference Include="commercetools.Sdk.Api" Version="*" /><PackageReference Include="commercetools.Sdk.ImportApi" Version="*" /><PackageReference Include="commercetools.Sdk.HistoryApi" Version="*" /></ItemGroup>
This has been configured to install the latest version of each SDK. To use a specific version, replace * with the version number.
Other installation methods can be viewed at NuGet Gallery.
commercetools.Sdk.Api is required for the Composable Commerce HTTP API. commercetools.Sdk.ImportApi (Import API) and commercetools.Sdk.HistoryApi (Change History API) are only needed for more specific use cases.
Set up the client
Add the following code to your Program:
// The following imports are required:// using commercetools.Sdk.Api;// using commercetools.Sdk.Api.Client;// using Microsoft.Extensions.Configuration;// using Microsoft.Extensions.DependencyInjection;var services = new ServiceCollection();var configuration = new ConfigurationBuilder().AddInMemoryCollection(new List<KeyValuePair<string, string>>(){new KeyValuePair<string, string>("MyClient:ApiBaseAddress", "https://api.{region}.commercetools.com/"),new KeyValuePair<string, string>("MyClient:AuthorizationBaseAddress", "https://auth.{region}.commercetools.com/"),new KeyValuePair<string, string>("MyClient:ClientId", "{clientID}"),new KeyValuePair<string, string>("MyClient:ClientSecret", "{clientSecret}"),new KeyValuePair<string, string>("MyClient:ProjectKey", "{projectKey}"),new KeyValuePair<string, string>("MyClient:Scope", "{scope}")}).Build();services.UseCommercetoolsApi(configuration, "MyClient");services.AddLogging();var serviceProvider = services.BuildServiceProvider();var projectApiRoot = serviceProvider.GetService<ProjectApiRoot>();
projectApiRoot can now be used to build requests to the Composable Commerce API. The following code makes an API call that gets your Project and assigns it to themyProject variable. The Project's name is then output to the console using myProject.Name.
// Make a call to get the Projectvar myProject = projectApiRoot.Get().ExecuteAsync().Result;// Output the Project nameConsole.WriteLine(myProject.Name);
Using the .NET SDK
Imports
Without importing resource-specific types/namespaces you will be unable to use specific objects and methods.
For example, to create a Shopping List you must import:
using commercetools.Sdk.Api.Models.ShoppingLists;
If not imported, a "The type or namespace name '{name}' could not be found." error is displayed and your program will not run.
Code examples within this guide display commented-out imports, where necessary.
Using builders
The .NET SDK follows a builder pattern when constructing drafts, update actions, and other objects/types that contain multiple fields.
// The following imports are required:// using commercetools.Sdk.Api.Models.Categories;// using commercetools.Sdk.Api.Models.Common;// Create a LocalizedStringLocalizedString multiLanguageString = new LocalizedString(){{"en", "English value"},{"de", "German value"}};// Create US$100.00Money money = new Money(){CurrencyCode = "USD",CentAmount = 10000};// Create a CategoryCategoryDraft categoryDraft = new CategoryDraft(){Name = new LocalizedString() { { "en", "english name" } },Slug = new LocalizedString() { { "en", "english-slug" } },Key = "category-key"};
Consult the HTTP API reference to ensure that all required fields are included.
How to structure your API call
Add an endpoint
An endpoint should be added to projectApiRoot. The following targets the Shopping Lists endpoint:
var shoppingListInfo = projectApiRoot.ShoppingLists()// ...
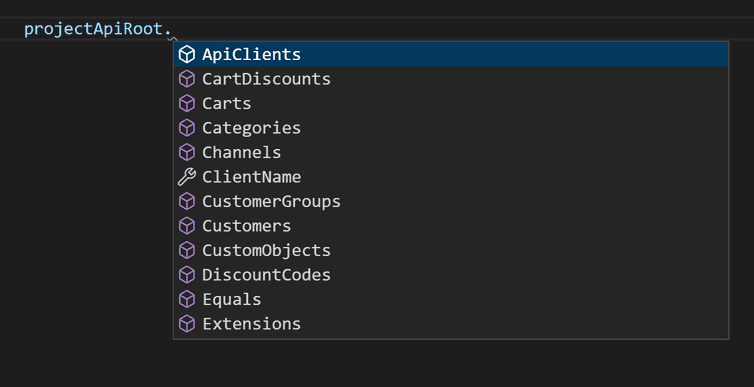
If your IDE supports auto-complete, the full list of endpoints can be viewed.
If no endpoint is specified, the Project is referenced.
Retrieving data
Get a single resource
When targeting a specific resource, you should include its ID or key followed by Get(), ExecuteAsync(), and Result.
// Get a specific Shopping List by IDvar shoppingListInfo = projectApiRoot.ShoppingLists().WithId("a-shoppinglist-id").Get().ExecuteAsync().Result;// Get a specific Shopping List by keyvar shoppingListInfo = projectApiRoot.ShoppingLists().WithKey("a-shoppinglist-key").Get().ExecuteAsync().Result;
If you query a resource with an id or key that does not exist, your program will crash with a 404 Not Found error.
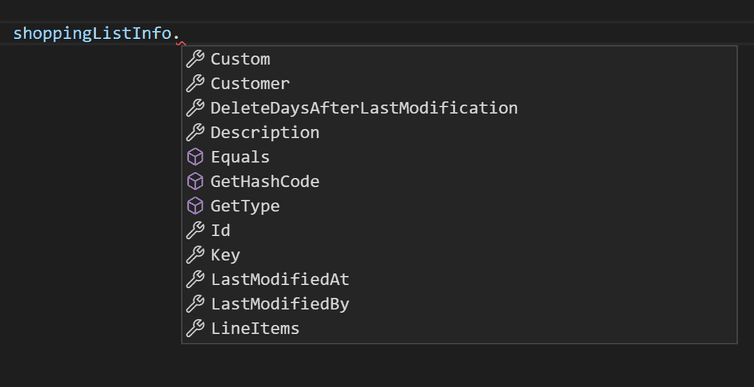
In this example, shoppingListInfo now contains the data of the specified Shopping List. Individual information can be accessed from the fields within that object:
Get multiple resources
If no ID or key is included, then the endpoint returns a PagedQueryResponse, which is identical to the PagedQueryResults in the HTTP API.
// Return an IShoppingListPagedQueryResponsevar shoppingListsQuery = projectApiRoot.ShoppingLists().Get().ExecuteAsync().Result;
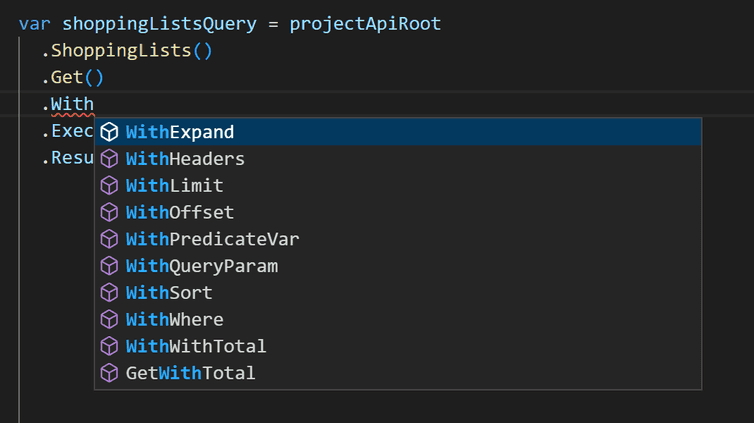
The results of these calls can be altered by including WithWhere(), WithSort(), WithExpand(), WithLimit(), or WithOffset() after Get().
These are identical to the parameters you can add to standard HTTP API calls. If your IDE supports autocomplete you can view a full list of methods available:
Using the Query Predicate builder
For querying results you can also use the type safe Query Predicate builders. They allow you to programmatically create a Query Predicate using the withQuery method.
// Return all Customers that have not verified their email addressvar response = projectApiRoot.Customers().Get().WithQuery(c => c.IsEmailVerified().Is(false)).ExecuteAsync().Result;
You can find more example usage of Query Predicate builders on GitHub.
Viewing results
A list of resources within a PagedQueryResponse can be accessed using Results:
// Return an IShoppingListPagedQueryResponsevar shoppingListsQuery = projectApiRoot.ShoppingLists().Get().ExecuteAsync().Result;// Put the returned Shopping Lists in a listvar listOfShoppingLists = shoppingListsQuery.Results;// Output the first Shopping List's English nameConsole.WriteLine(listOfShoppingLists[0].Name["en"]);
Writing a resource
Creating a new resource
Creating a new resource requires a draft of the resource to create. For Shopping Lists this would be a ShoppingListDraft. These drafts are created using builders.
// Build a ShoppingListDraft with the required fields (name)var newShoppingListDetails = new ShoppingListDraft(){Name = new LocalizedString() { { "en", "English name of Shopping List" } }};
newShoppingListDetails should be included within Post() and followed by ExecuteAsync().
// Post the ShoppingListDraft and get the new Shopping Listvar newShoppingList = projectApiRoot.ShoppingLists().Post(newShoppingListDetails).ExecuteAsync().Result;
Updating an existing resource
Updating an existing resource requires posting an update payload. This payload (in the case of Shopping Lists, a ShoppingListUpdate) contains a collection of update actions and the last seen version of the resource.
Update actions and payloads are created using builders.
// Build a ShoppingListUpdate with the required fields (version and list of IShoppingListUpdateActions)var shoppingListUpdate = new ShoppingListUpdate(){Version = 1,Actions = new List<IShoppingListUpdateAction>{{new ShoppingListSetKeyAction(){Key="a-unique-shoppinglist-key"}}}};
This payload must then be posted to a single resource (using WithId() or WithKey()).
// Post the ShoppingListUpdate and return the updated Shopping Listvar updatedShoppingList = projectApiRoot.ShoppingLists().WithId("{shoppingListID}").Post(shoppingListUpdate).ExecuteAsync().Result;
Deleting a resource
Deleting a resource requires using the .Delete() method with the last seen version of the resource. The resource to delete must be identified using WithId() or WithKey().
// Delete and return a Shopping Listvar deletedShoppingList = projectApiRoot.ShoppingLists().WithId("{shoppingListID}").Delete().WithVersion(1).WithDataErasure(true) // Include to erase related personal data.ExecuteAsync().Result;
Using GraphQL
The .NET SDK has a GraphQL package that provides type safe GraphQL support.
With the help of ZeroQL you can generate a type safe query and projection client. The results are then mapped to the correct response type.
The response types will have all available fields defined by the selector.
var variables = new { productFilter = $@"id = ""{productId}""" };var response = await client.Query(variables,static (i, o) => o.Products(where: i.productFilter,selector: r => new { results = r.Results(product => new { product.Id })}));Assert.NotNull(response.Data?.results[0].Id);
Next steps
Try our example code
Continue learning about the .NET SDK by checking our SDK code examples. You will find example code for creating, querying, and updating Customers and Products.
Set up a demo application
The Me Endpoint Checkout app demonstrates how to use the Me endpoints to create an example web store.


